Getting Started
This guide walks you through the first setup of aa-proxy, including flashing the SD card, connecting to your phone and car, and using the web interface for configuration.
💾 Flashing SD Card
The latest stable SD card images are available on the Releases page.
Download the correct image for your hardware and flash it using your preferred tool (for example, Raspberry Pi Imager or balenaEtcher).
🔌 First-Time Connection
Verify Android Auto with your car:
Connect your phone directly to the car head unit (HU) via USB and confirm that Android Auto starts successfully. Then disconnect the phone.Connect the aa-proxy board:
Use a data-capable USB cable and make sure you connect to the correct OTG-enabled port on your board:- Raspberry Pi Zero W and Raspberry Pi Zero 2 W → second micro-USB port labeled “USB” (not “PWR”)
- Raspberry Pi 3 A+ → the only USB-A port (use a USB-A to USB-A cable)
- Raspberry Pi 4 → the USB-C port (the same one normally used for power)
Pair via Bluetooth:
On your phone, open Bluetooth settings and pair with the new device namedaa-proxy-*.Automatic Wi‑Fi connection:
After pairing, your phone should automatically connect via Wi‑Fi. The aa-proxy will then connect to the head unit via USB and start Android Auto on the car display.
From the next connection onward, Android Auto should launch automatically without further setup.
WARNING
For convenience during the first setup, SSH access is enabled by default and the device uses a predefined Wi‑Fi password.
It is strongly recommended to change these defaults or disable SSH entirely for security reasons.
NOTE
📶 Default Wi‑Fi credentials:
SSID: aa-proxy
WPA password: aa-proxy
🔐 Default SSH credentials:
User: root
Password: password
See below for instructions on connecting to the device’s Wi‑Fi network.
🌐 Embedded Web Interface
When connected to the device’s Wi‑Fi network, open http://10.0.0.1 in a web browser to access the built‑in web interface.
WARNING
If you want to access the device (via web or SSH) while Android Auto is running, it will not be reachable from the same phone.
You have two options:
- Use a different device (e.g., laptop or another phone) to connect to the aa-proxy Wi‑Fi network.
- Or temporarily stop Android Auto, for example by:
- Enabling airplane mode, then re‑enabling Wi‑Fi only and connecting manually, or
- Disabling both Wi‑Fi and Bluetooth, waiting a few seconds, then re‑enabling Wi‑Fi and reconnecting.
If connection issues persist, try disabling MAC address randomization on your phone.
This guide explains how to do this on Android.
Within the web interface, you can configure all settings available in /etc/aa-proxy-rs/config.toml, such as Bluetooth behavior, logging options, and network parameters.
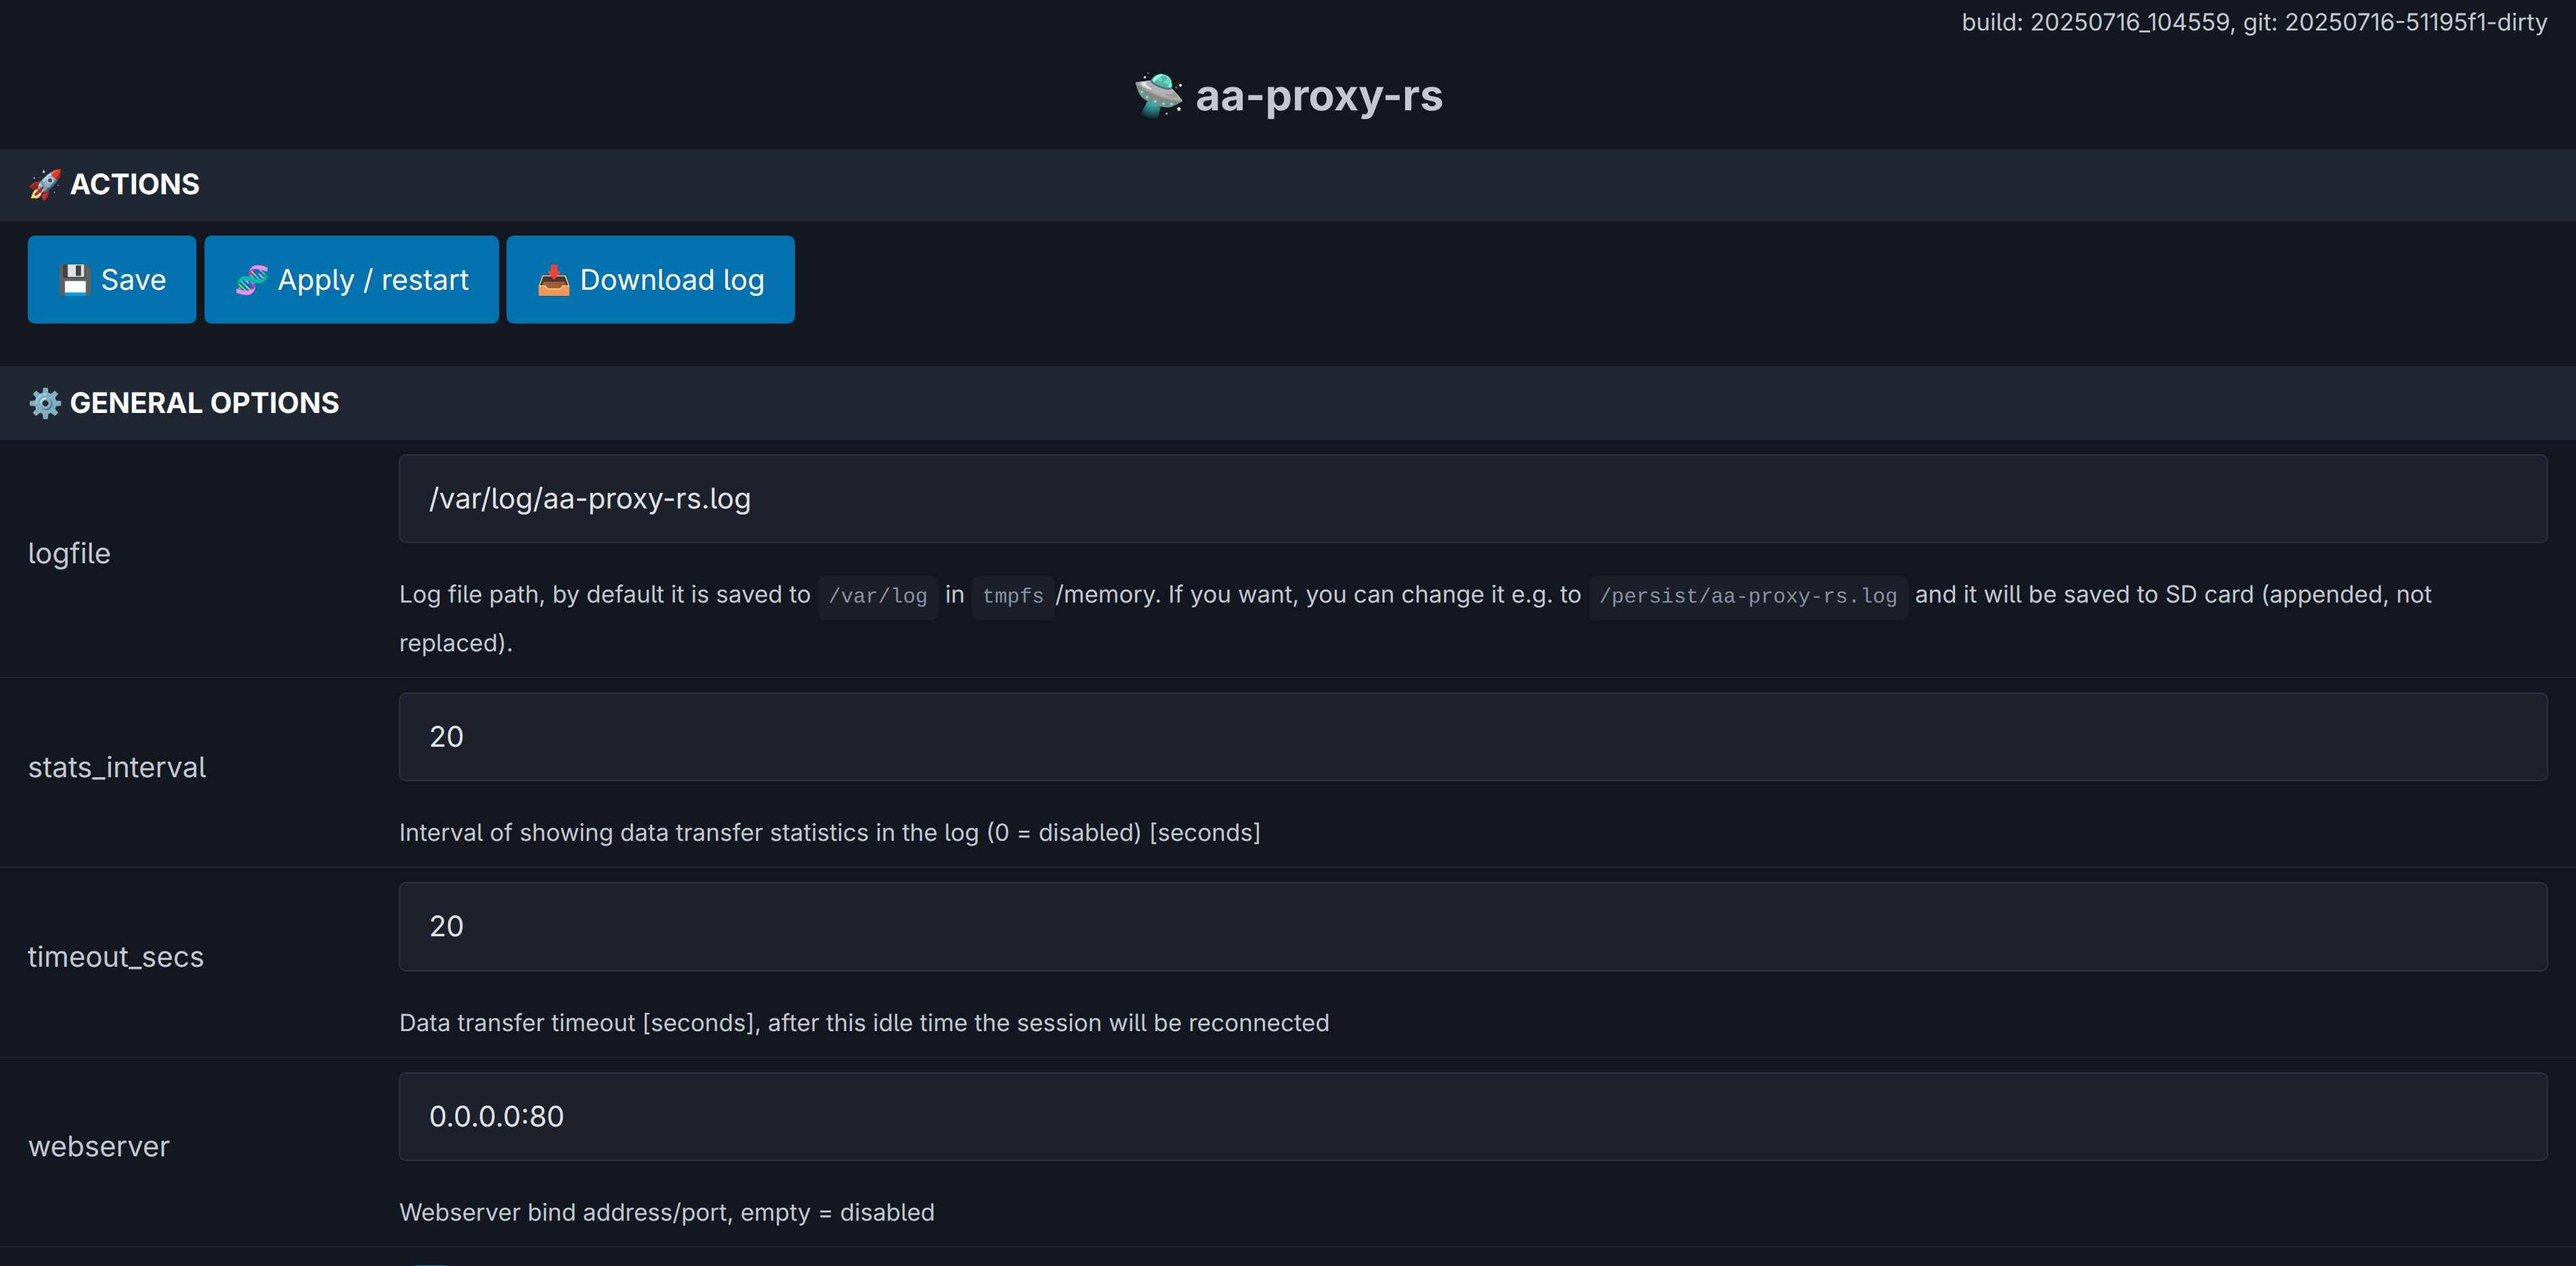
You can also download logs directly with a single click for troubleshooting or support purposes.